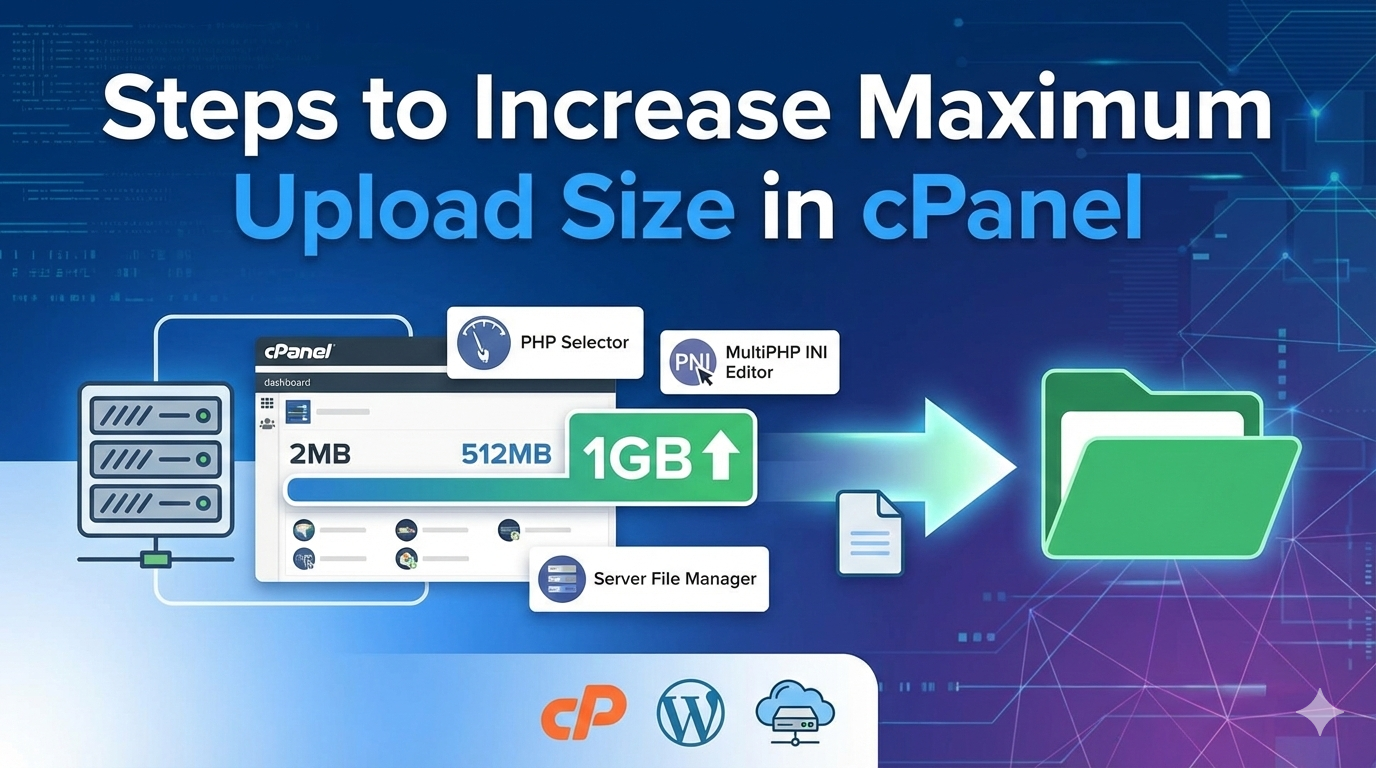
To increase the maximum upload size in cPanel, you need to tweak some settings. These include PHP and web server configurations. Here’s how to do it. Follow these Steps to Increase Maximum Upload Size in cPanel:
- Login to cPanel: Use your login details to access your cPanel account.
- Locate “PHP Version Manager” or “Select PHP Version”: Depending on your cPanel theme or version, this option might be named differently. Look for “PHP Version Manager” or “Select PHP Version” and click it.
- Select the desired PHP version: From the PHP Version Manager or Select PHP Version screen, pick the PHP version your site uses. If you’re not sure, check your cPanel dashboard or hosting provider.
- Click “Options” or “Switch To PHP Options”: Find an “Options” button or something similar. This lets you tweak the PHP settings.
- Adjust “upload_max_filesize” and “post_max_size”: Look for “upload_max_filesize” and “post_max_size” settings. These control the max file size for uploads. Raise these values to your desired limit.To allow files up to 32MB, set both to “32M.”
- Save the changes: After adjusting, save your changes. The save method might differ based on your cPanel version. Look for a “Save” or “Apply” button.
- Test the new upload limit: Try uploading a file bigger than the old limit to see if it works. If it uploads without issues, your new limit is active.
Some hosting providers set limits on PHP settings for server stability and resource use. If you hit a limit, you might need to reach out to your hosting provider or upgrade your plan.
Also, be careful with larger file uploads. They can use more server resources and slow down your site. Make sure your server can handle bigger uploads without performance problems.